Roles
Navigate:  Configuration
> Security and User Maintenance > Roles
Configuration
> Security and User Maintenance > Roles
Description
Security access to different parts of the Aumentum Platform is controlled through user roles. Roles are set up and modified here and are assigned to users in User Maintenance. Security rights for a role are set globally by application first. Rights can then be added or removed individually for functions or processes of an application.
Steps
-
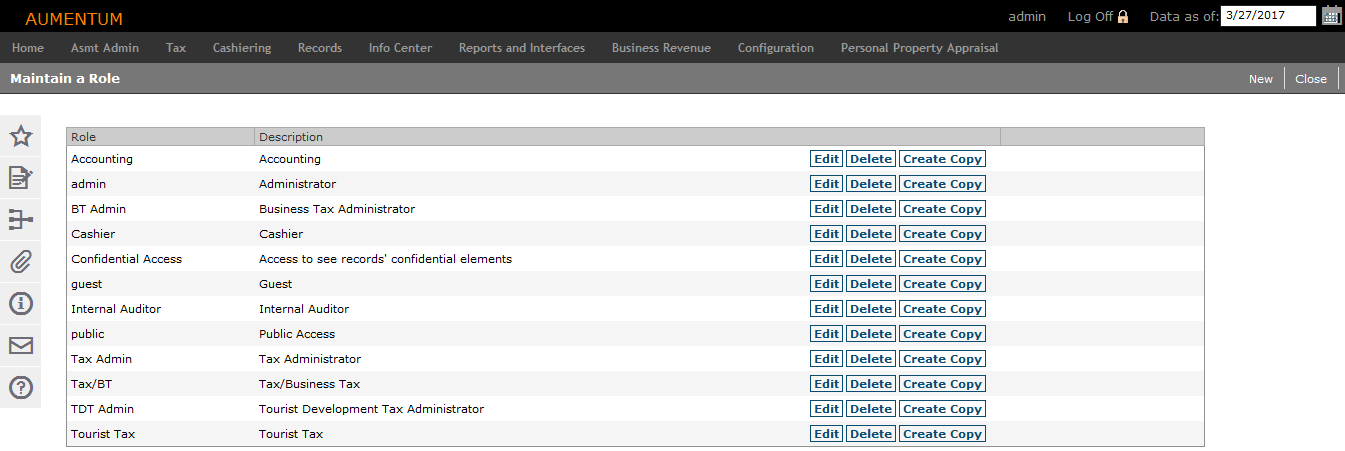
On the Maintain a Role screen, click New to add a new role, or click Edit for an existing role.
-
On the Edit Role Details screen, edit the Role and Description fields in the Role Description panel.
-
In the Available Menu Items panel, click to select an item you want to add to the role.
-
The menu items listed in the Available Menu Items panel have not been added to the current role's security domain, and the menu items listed in the Granted Menu Items panel have been added to the current role's security domain.
-
If the same menu appears in both lists, it means that only some of the menu's sub-items have been added to the Granted Menu Items panel. Once all sub-items within a menu have been granted to the role, that menu will no longer be listed in the Available Menu Items panel.
-
You can move an entire menu, a sub-menu, or an individual task. To drill down into a menu, click the plus (+) icon to its left. If you select the top level item, all sub-items within that menu, as well as the menu itself, are moved from one panel to another.
-
-
Click Add Selected to move a menu item from the Available Menu Items panel to the Granted Menu Items panel below.
- Click Save in the Command Item bar.
-
Select the menu item in the Granted Menu Items panel you want to set rights for. Click on the plus (+) icon, to drill down to the specific item you want to work with.
-
Each menu item can be assigned a detailed set of security rights. These rights specify whether the role is allowed to view, modify, execute, create, and delete when working with the menu item.
-
-
After selecting an item, click Remove Selected to remove it from the list.
-
In the Rights panel, select the checkbox for each right you want to allow. For example, select the Modify checkbox if you want the role to be allowed to make changes to the selected item such as enter data or edit existing data.
-
Click Set Rights to set the selected rights for the item and display the selections in the Granted Menu Items panel.
-
Click Save.
-
Click Notes to view and add notes to the role. If you are creating a new role, you must first save the role before you can add notes to it. Notes on a role that are designated as public or office use will display on the Home Page when a user with that role is logged in.
- Click User Defined Fields to open the Edit User Defined Fields Role Details screen. Only those UDFs marked as Restricted (via Configuration > User-Defined Fields) are displayed on this screen. Select the checkbox for View and Modify to give this role permission to view and modify the UDF.
- Click Dataservices to open the Edit Dataservices Role Details screen. In the Details panel, click to select an item in the grid and select the Allow Access checkbox in the Rights panel. Click Save.
-
Click Webservices to open the Edit Webservice Role Details screen, on which you can define whether to allow access to web services for the selected role. In the Details panel, click to select an item in the grid and select the Allow Access checkbox in the Rights panel. Click Save.
-
Click Data Items to open the Edit Data Item Role Details screen, on which you can edit additional role details. In the Details panel, click to select an item in the grid and select the Allow Access checkbox in the Rights panel. Click Save.
-
Click Non-Menu Items to open the Edit Non-Menu Item Role Details screen. Make a selection from the Modify Security for drop-down list. In the Details panel, click to select an item in the grid and select the desired access in the Rights panel. Click Save.
-
Click List to return to the Maintain a Role screen.
-
On the Maintain a Role screen, click Create Copy to copy the rights from the selected role to a new one. Enter the new role's name and description, and click Create Copy again to proceed to the Edit Role Details screen.
-
Click Delete in the row of a role to delete it and click OK through the confirmation message.
NOTE: You cannot delete a role if any users are associated with it. Run the role report to find the users associated with a role in order to remove it from the user records.
NOTE: If you select a high-level menu item and change its rights, the same changes will flow down through all of the menu item's sub-items. When you need to set detailed, level-specific rights, start from the top level and work your way down to avoid overwriting settings already made for lower level items.
Common Actions
(From the Maintain a Role screen)
Click Role Report to print the report in a new window. The report is sorted by role name, followed by user name (in ascending order).
Click Role Detail Report to open the Print Security Role Detail Report screen.
- Select up to three roles to include in your report.
-
Click Generate Report. The SRS report displays in a new window.
Prerequisites
Configuration Menu
Take time to plan out the roles before creating them. It is recommended that you create separate roles for different functions; that is, assign rights for any given task to as few roles as possible and do not duplicate functionality across roles. Assign each user as many roles as necessary to grant them rights to all the functions they need to perform.
For example: if your office has two jobs called Clerk 1 and Clerk 2 which have similar duties except that the Clerk 2 position carries additional responsibilities, create a base clerk role with the rights that are shared by the two positions and then create a second role that only has the additional rights needed by the Clerk 2 position. You will assign both roles to any user in the Clerk 2 position. These roles will be easier to maintain than if you created two nearly identical roles which would both need to be updated the next time there is a change to any of the tasks used by both roles.
NOTE: When you create a new role, it is automatically assigned view rights to Framework non-menu items. For roles that should have lots of rights, it can be easier to copy the admin role and remove rights that do not belong to the new role than to create the role from scratch.
Dependencies
Set up roles before setting up user records. Aumentum is delivered with an administrator role which has rights to every part of the application, and a guest role with very limited rights. Roles need to be created for whatever job functions any given user needs access to and be assigned to the user before she can log into and use Aumentum.
NOTE: The prerequisite and dependency information is provided as a helpful guide but may not be inclusive of all items. Check with your Aumentum Implementation team for further advice if needed.